The art of setting a beautiful table: the complete guide in 5 steps.

Setting a French table is not easy.
A real headache.
We have all seen a table with lots of cutlery and glasses and thought to ourselves: "What's the point of putting so many on it?"
-You wonder in what order you should put the glasses?
-How to set the cutlery?
-Do you need advice on arranging glasses, plates, napkins, etc.?
-You have an important dinner or maybe a wedding, and you don't know how you should organize your table?
You tell yourself that to entertain well it is not essential to put out so many cutlery and glasses.
You are right.
However there are rules to follow.
Don't panic!
Whether it's an informal dinner with friends or a very elegant meal, when you've read this article you'll know how to set a beautiful table.
No need to stress and fear making a mistake in etiquette.
Working in crystal for 40 years as you can imagine, I know all the rules for setting a table well.
The art of the table is a very important skill in the world of crystal.
And then we can be proud to live in a country that attaches importance to this way of life which is also recognized throughout the world.
Finally, it is with great pleasure that we share and transmit this very French knowledge.
Before you rush to put everything on the table, you need to think about the basics.
The Tablecloth.
Step 1: How to properly arrange your tablecloth.
First place a fleece on your table.
What is this ?
Do you remember that kind of white tablecloth a little thicker than a normal tablecloth that your grandmother used to put before the tablecloth?
This is the fleece.
And if your grandmother didn't wear it, you must have already felt it when you went to a restaurant. It's very pleasant. Because it brings more comfort and muffles the noise of the cutlery.
And above all, it will protect your table from stains (especially if it is made of wood).
Then cover it with a tablecloth of your choice.
Often a white tablecloth.
The simpler the better.
Simple things are often the most beautiful. No need to worry.
Remember to balance the sides.
Let's move on to the folds.
It will depend on the shape of your table.
If it is rectangular, no problem, you will not need to iron it.
But if your table is round, then you have no choice but to get out your iron.
If you have an extendable table, and your tablecloth is too small.
Take out three tablecloths that go well together to have more harmony.
You will put two on the ends and one in the middle.
Now that your table is nicely covered, you will place your glasses on it.
Step 2: How to properly place glasses on a table.
To begin with, the number of glasses you will use will depend on what you are going to drink and the type of event.
If it's a formal event you'll be bringing out the whole array of glasses.
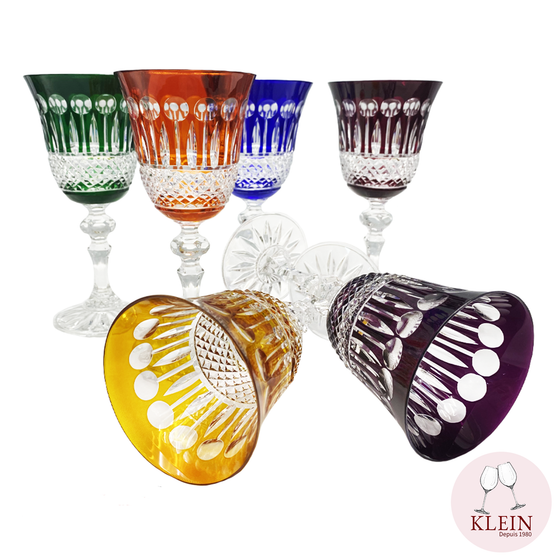
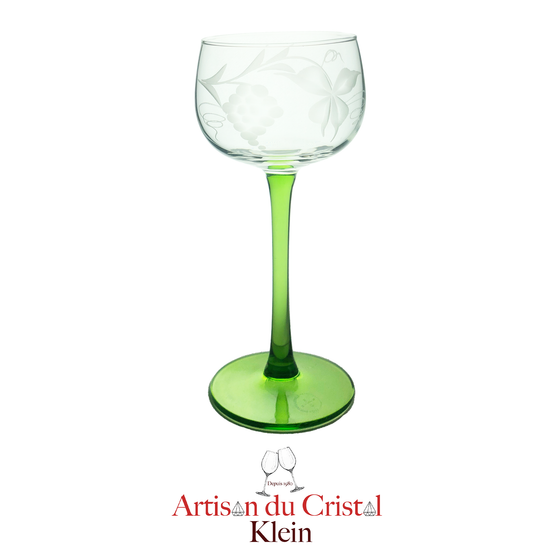
If it's a small dinner with friends. That you don't want to take the head. Three glasses will be enough: a glass for the aperitif , the wine glass and the water glass .
The water glass can be a stemmed glass (which will be larger than the wine glass ), or a tumbler.
But I advise you to put stemmed glasses for wine and water and reserve your cups for the aperitif . Because these will adapt to all drinks. As you do not know in advance what your guests will consume, you have to anticipate.
I will give you the rules to follow to correctly position your glasses.
To begin, wipe your stemmed glasses with a soft cloth to avoid scratching them.
Oh yes!
It would be frowned upon to leave your fingerprints on the glasses. Removing fingerprints is the least you can do.
Sometimes the glasses remain impregnated with a musty or laundry smell.
This is not very pleasant.
Especially if you haven't used your glasses for a long time. Don't hesitate to rinse them.
A very important thing.
Glasses are always placed from left to right, from largest to smallest. The leftmost is the water glass , then the red wine glass, then the white wine glass . These three glasses are always aligned.
Normally, if you want to respect the codes of French tableware, the alignment of your stemmed glasses will be done on a diagonal axis.
If you want to respect the English custom, the alignment of your glasses will be parallel to the edge of the table.
For the water glass normally it should be aligned with the largest knife (I will explain the arrangement of the cutlery later). However the rules are quite flexible with respect to this protocol.
Since cutlery takes up a lot of space, it is not always possible to do exactly as tradition dictates.
YES!! We don't all have a five meter long table.
The important thing is that your presentation remains the same for all your guests.
But be careful.
If you only put one stemmed glass, don't center it on the plate, it doesn't look very elegant.
And the champagne?
If you serve it as an aperitif, you can place your flutes next to your champagne bucket , on another table.
If you put the flutes on the table. The most chic will be to put your champagne flutes between the water glass and the red wine glass .
But definitely not in the same alignment as your other glasses.
This one is higher. Aesthetically it would break the harmony of your glasses.
This is why you will need to place it on a second row.
Here is a photo example:
After the glasses, let's move on to the plates.
Step 3: How to properly arrange plates on a table.
Remember that dinner where everyone was packed in like sardines, or that restaurant with a table that was too small and you didn't even know where to put your belongings?
First of all you must think about the comfort of your guests.
You will therefore need to space your plates at least 40 cm apart, and place them 2 cm from the edge of your table.
If it's a very fancy dinner, you'll have to bring out the pretty dishes.
Even if you have very nice paper plates with beautiful patterns.
I know it's more convenient, especially when you have a lot of people over. But it's not very suitable.
To be on top of the top you will need three to four types of plates. Placed in a specific order.
- The presentation plate, also called the welcome plate. It is not mandatory to put it, but it will add a touch of something to your table. It will be the first plate placed on your table. You will remove it just before serving the cheese.
This plate will protect the table from hot plates and will allow you to have a full table when you change plates.
- The flat plate: it will support the soup plate and will be used for the main dishes. You can even change this plate if you have 2 main dishes (For example one for the meat and one for the salad).
- The soup plate: this will be the plate for the first dish served. It will be supported by the dinner plate so as not to stain the tablecloth at the start of the meal.
By the way, on this subject, you can putknife holders to prevent your guests from making stains on the tablecloth. This could make them uncomfortable. And then it makes a little extra detail.
Here is an example of a knife holder that we made for a special order.
- To finish the bread plate: it will still be more pleasant for your guests to have a small plate provided for this purpose. As you can see on the plan above, it must be placed to the left of the other plates, just above the forks.
Small details. Never put more than three plates on top of each other on a table.
And never two flat plates on top of each other.
Now that you have arranged the glasses and plates you can place your cutlery.

Forks should be placed to the left of the plate.
The knife on the right.
If you are serving broth with your meal, your soup spoon will be next to the knife.
Your cutlery should always be placed in the order in which the dishes are served: the one furthest from the plate will therefore be the first to be used.
If it is a very elegant dinner you will bring the teaspoons and dessert forks with the plates in front of the glasses.
In both diagrams you noticed differences between a formal and informal dinner.
But to make it easier for you, here is the list of differences:
- for the napkin during an informal dinner it will be placed in the center of the plate, and for a formal dinner to the left of the plate.
- you notice that a small bread plate will be added for a more chic dinner.
- But that's not all: Cake fork, dessert spoon and place card will be added.
- add another stemmed glass for the wine , so that you can separate the white wine and the red wine . As I told you in the first part. If you serve champagne, remember to set the flute back from the glasses.
- Finally, if necessary, you can place a small plate between the bread plate and the cardboard placement, for the butter (a butter dish).
We've talked about glasses, plates and cutlery, but what about decorative items?
Is there a specific rule?
Yes !
Let's move on to the last step.
The final touch.
Step 5: What decorative items can you put on your table?
You don't want to overload your table. With plates and everything else, it's already a lot. So keep it as simple as possible.
Of course you can put a beautiful vase in the center of the table with beautiful flowers, or a large decorative dish , or a beautiful cup .
This will add more fun and extra character.
If your table is large enough, you can place the bread dish on the ends. If it is smaller, it will be better to serve the bread on small plates as we saw above.
If you have a dish, a salad bowl or a soup tureen, the ideal would be to put them on a table next to it. And if you have no choice, in the center of your table.
But be careful if it is a very elegant meal never place a trivet. You will use it more for family meals.
It's up to you to make your guests dream.
You have all the solutions in hand to make a magnificent table.
For any type of dinner, you will know how to adapt.
It's so nice to make beautiful tables.
But never forget: the simplest remains the most beautiful.
Sometimes we want to worry but it's no use.
Clean up as much as possible.
Finally you have all the cards in hand.
Up to you.
And if you make a beautiful table, don't hesitate to send us a little photo. We can share it after this article as an example to follow.
Thank you for sharing this article.
Below you will find the different links to social networks on which you can share.
We look forward to your feedback.


